Photogrammetry
Photogrammetry: your car’s VAR
- Precision is key in the automotive industry, with measurements of less than the thickness of a sheet of paper in car bodies
- Using photogrammetry represents an improvement in measurement efficiency on the line in terms of speed, precision and connectivity
- SEAT is the first manufacturer to implement a large scale continuous non-contact measurement, with 9,000 photos and up to 210 million points analysed per day

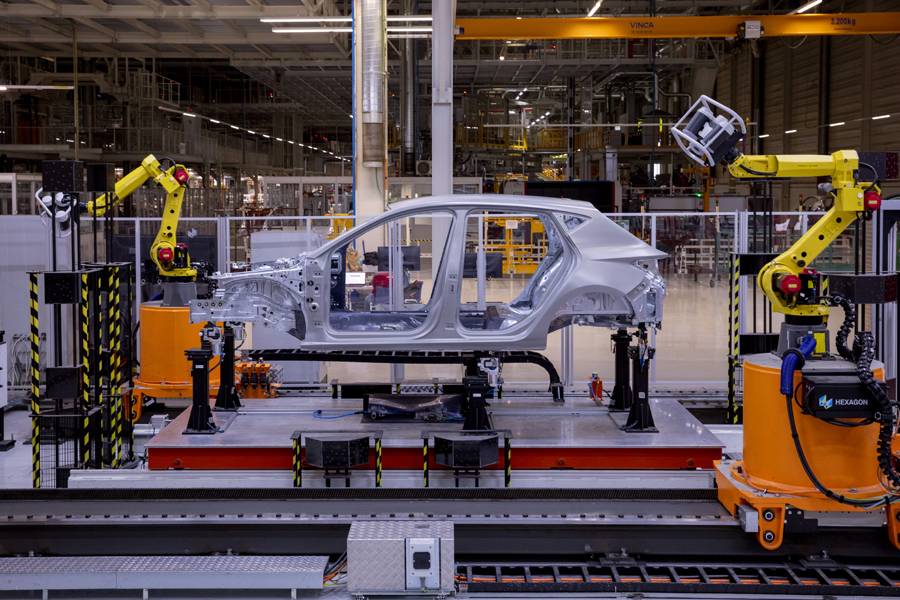
Martorell, 03/06/2021. In football, one centimetre can make the difference between a goal on the scoreboard or an offside called. With the implementation of VAR (video assistant referee), it’s now possible to improve the level of accuracy when it comes to analysing those centimetres of legality. But what if instead of centimetres, we talk about tenths of a millimetre, the equivalent of the thickness of a sheet of paper? The SEAT Measurement Technology and Meisterbock department takes care of this by measuring the bodywork on cars. Until now, this process was carried out semi-manually. However, an innovative non-contact technology has arrived that marks a turning point in the efficiency of the process once the car reaches the production line.
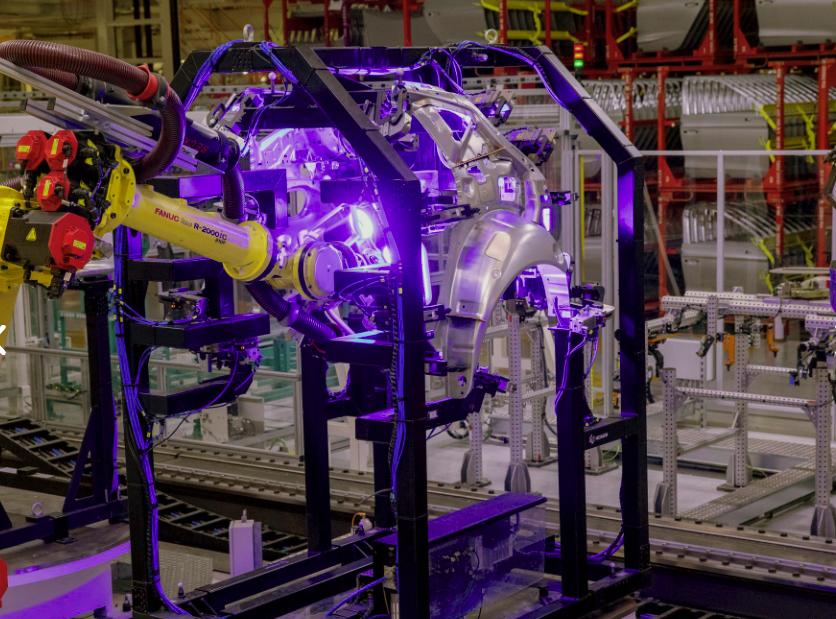

The path to precision. “Photogrammetry is a non-contact optical measurement technology that enables us to capture millions of points of an object through photos, marking the depth and thickness of each space†explains Pedro Vallejo, head of Measurement Technology and Meisterbock at SEAT. The points collected are captured on a coloured map that indicates whether there are deviations from the standard. “In the image we can see 100% of the vehicle’s geometry lines, both interior and exterior, which guarantees that any changes are immediately detected†adds Paco Triguero, head of Internal Parts Measurement at SEAT.
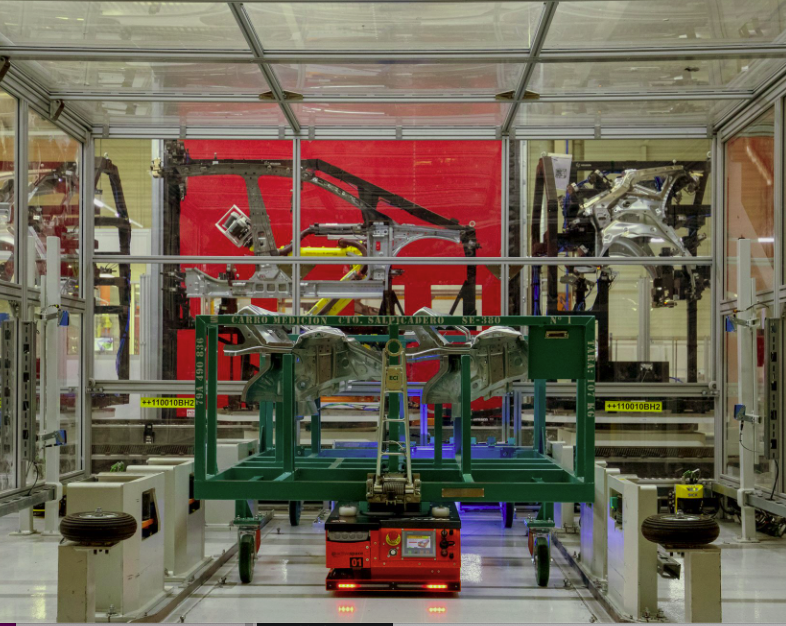
How does it work? Sets of parts are randomly selected from the assembly line to be thoroughly checked during each production shift. AGVs (automated robots) transport these components to the measuring facilities. There, 1,500 square metre machines, equipped with cameras, begin the work to ensure that all vehicles leaving the production line have the correct dimensions. In this way, safety and performance are certified and any deviations can be quickly recalibrated.
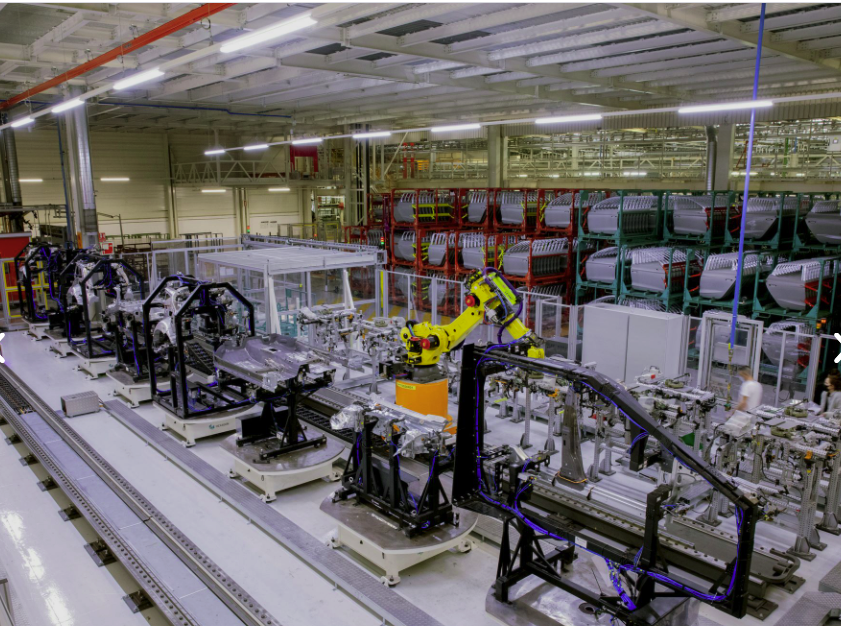

The importance of adding up points. A car body is the sum of its different assembled parts. That’s why its measurements must be exact and precise, and photogrammetry now ensures that this is the case. “In total, the machines take between 200 and 300 photos per assembly and 1,000 of the entire skeleton, which is equivalent to measuring seven million points per assembly and up to 98 million of an entire chassis†explains Paco. That’s 9,000 photos and up to 210 million points analysed per day.
No lost time. Optical technology has saved up to 90% of the measuring time compared to conventional tactile measurements. “Before, we used to measure three parts in a day, whereas now we inspect 30 daily†says Paco. “This has enabled us to profoundly transform the way we’ve been working for the last 20 or 30 years, and we’ve trained workers in more highly qualified techniques, and exponentially increased the information we obtain so that the customer receives the best possible car†says Pedro. This technique is currently being replicated on the assembly line of the SEAT Leon and the CUPRA Formentor.
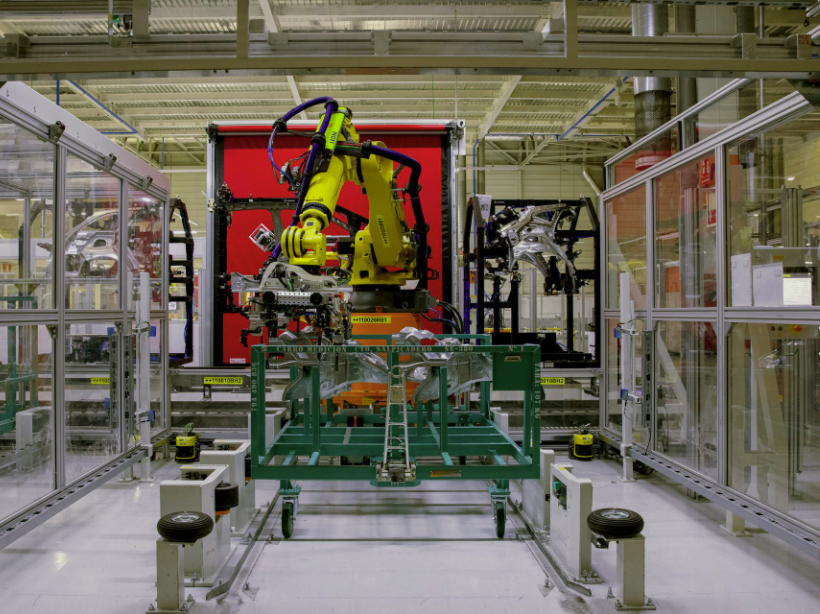

A technological milestone. Using photogrammetry in serial measurement, adapted by and for SEAT, is a pioneering and innovative process in the industry and represents an improvement in measurement efficiency on the line in terms of speed, precision and connectivity. “We’re the first manufacturer to roll out large scale, continuous non-contact, automated measurement and we’ve managed to ensure that a car coming off the line has the same level throughout the life of the series, like a perfect prototype†Pedro points out.
Projecting the future. Thanks to tools such as Big Data and Data Science, the large volume of information now obtained with photogrammetry will be used in the future to detect situations in production even before they occur. “We’re storing all this data so that a machine learning algorithm can examine the frequency of any deviations†explains Pedro. “Now we’re able to locate them and react, but later on, a programme will act proactively: it’ll analyse how often they’re repeated and make predictions to recalibrate the machine that produced the deviation†concludes the engineer.


